NearsideDS - flashcards with sound
Sample Droidscript Application
A while ago I wrote a desktop flashcard app for language learning. And I wanted to use it on my android phone. So, I created a simplified clone of this program using DroidScript - Javascript variant that allows to build native Android applications.
Download NearsideDS
Complete source code is available at github, please clone it from there.
NearsideDS.spk - 748kb.
(You need to have DroidScript app installed to be able to run an .spk package file).
Tap on right and left side of text area to browse the cards.
What is DroidScript?
I suggest you to download Droidscript application and check their site and Google group. It is a development environment that makes it easy to write programs for Android using Javascript.
Droidscript also provides an excellent framework scriptable in Javascript that allows you to do pretty much everything you want on your Android phone or tablet - create GUI interfaces, read data from sensors, read/write to a database, communicate via Bluethooth etc etc. And the most important part is that it is enjoyable.
About the application
We have a deck of flashcards. Each card in addition to text also has a sound file attached. When you open a card, the sound file is played.
The application allows you to open a project, navigate cards deck back and forth. You can also browse the cards in automatic mode. Card is shown/played, then you are given some time to process/repeat it, then the app opens the next card and so on.
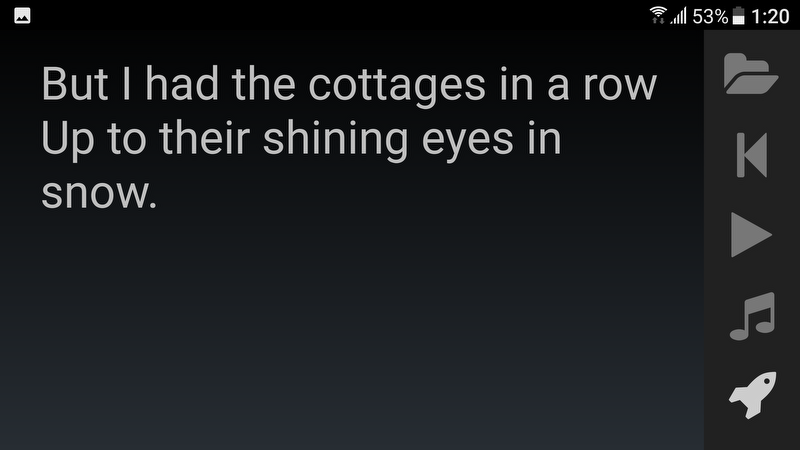
Here is a screenshot
Application structure
Many Droidscript sample applications are single file scripts. But I used here the same approach as in my Python/Tkinter app, so the structure is quite different.
There main script is called NearsideDS.js. It loads several javascript files, the only function it contains is OnStart function that publishes NearsideApplication.
app.LoadScript( "NearsideApplication.js" );
app.LoadScript( "Controller.js" );
app.LoadScript( "Toolbar.js" );

function OnStart() {
    var application = new NearsideApplication();
}
Here is the general logic. Everything is a class and every class is defined in a separate file. Application is the main GUI class. Application consists of components, components in turn contain widgets. The only component in this application is called Toolbar. It is defined in Toolbar.js file.
The Application is passed to every Component and every other object as well. This is what glues them together and allows to communicate with each other.
All the functions are taken to a Controller class that can be found in Controller.js file. We create the Controller first and then pass it (as a property of the Application) to all the Components. This way you can bind Controller's functions to widgets, that belong any Component, and don't need to care about sequence in which they are initialized.
So, this is the list of the files:
- NearsideDS.js - driver script, publishes NearsideApplication
- NearsideApplication.js - main application GUI
- Controller.js - contains all the functions
- Toolbar.js - toolbar component
and also
- Config.json - contains some configurable settings
Data format
Every project is supposed to have a separate folder in a data directory. See Data/goodhours in NearsideDS folder for an example. Every card has a text file and a sound file. These files are named like 005.txt and 005.mp3, where 5 in this case is the card id. The files should go in order and without gaps. All other files in the project directory are ignored.
You can specify data folder location and default project in Config.json file, and create your own projects.
Javascript considerations
Please read some basic OOP Javascript tutorial like this one.
I am using
var self = this;
statement at the top of every class definition. This is a variation of widely used
var that = this;
approach, but using "self" instead of "that" just warms my heart. The reason is that Javascript redefines "this" depending on the context and this way I keep consistently behaving reference to the object.
Within the objects self.a refers to the Application, while self.c is a reference to the Controller.
How to use the program
When you start the program it loads the default project.
While layout dimensions are defined in relative units, you may still want to adjust toolbar width and/or font size. This can be done in Config.js file.
Tap on the right side of the text area to go to a next card, tap on the left side of the text area to go to a previous card. You need to tap within 20% of textbox width to the edge.
Most of the button icons are self-explanatory. Open project opens a Dialog with a list of projects in the data folder.
When you click on a Rocket button, the App goes into a Macro mode. It plays/shows one card, then waits for 110% of the sound file duration, then opens a next card. In Macro mode many buttons are not operational. To get out of the Macro mode click on the Rocket button again.